Cutting Comb Is A Sticky Gooey Mess, But Processing It Is Fun!
After I cut the burr comb out of my hive, I was left with a sticky gooey mess. There was honey leaking from my hive (which the bees fixed the next day) and a cookie sheet full of dead bees, honey and comb. I hoped the bees would clean up the cookie sheet, preventing me from having to do the work. I tried leaving it in front of the hive but due to the work they had to do inside the hive and the nectar flow they were not interested. So it was up to me to clean it for them. Thanks Bees!
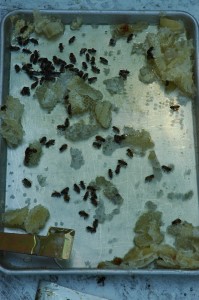
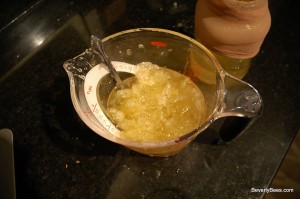
I brought the cookie sheet inside and removed the dead bees. Then I poured everything into two measuring cups totaling 4 1/2 cups worth. (To see a larger version of any picture just click on it.)
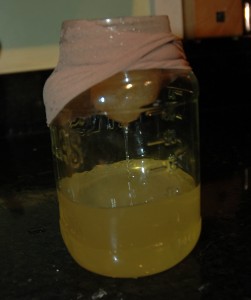
Next, I put a knee-high over a glass jar and poured the honey through it to filter out the wax and other stuff.
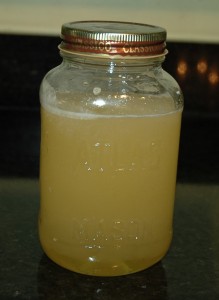
Once this was done, I ended up with a beautiful jar of honey totaling just over 2 cups and some wax. This was the first time I had ever strained honey or even tasted honey from my hive and it was delicious. It started out light in flavor but had a rich after taste. I wish I could have kept the honey for myself but instead I will be feeding it back to the bees. Right now they need it more than I do!
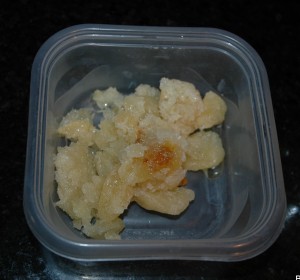
The wax needs to be purified before it can be used in candles, soaps, cosmetics etc. So I decided to also try processing the wax for my very first time. First I rinsed the wax in water to remove the leftover honey. Then I wrapped it in two layers of cheese cloth, closed it with a rubber band and placed it in a pot of water to boil. (If you have an old pot this would be ideal, because the pot you use will also get wax on it.)
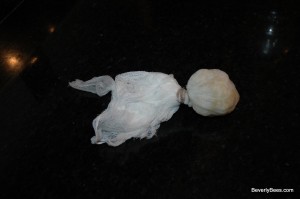
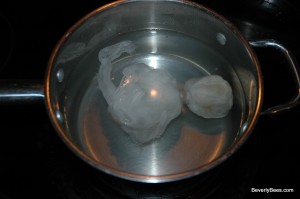
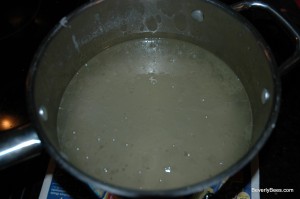
The water started boiling and the wax began to melt through the cheesecloth and float to the top of the pot. In the picture below the wax looks yellow. Throughout the boiling process I watched the wax carefully to prevent it from boiling over and catching on fire.
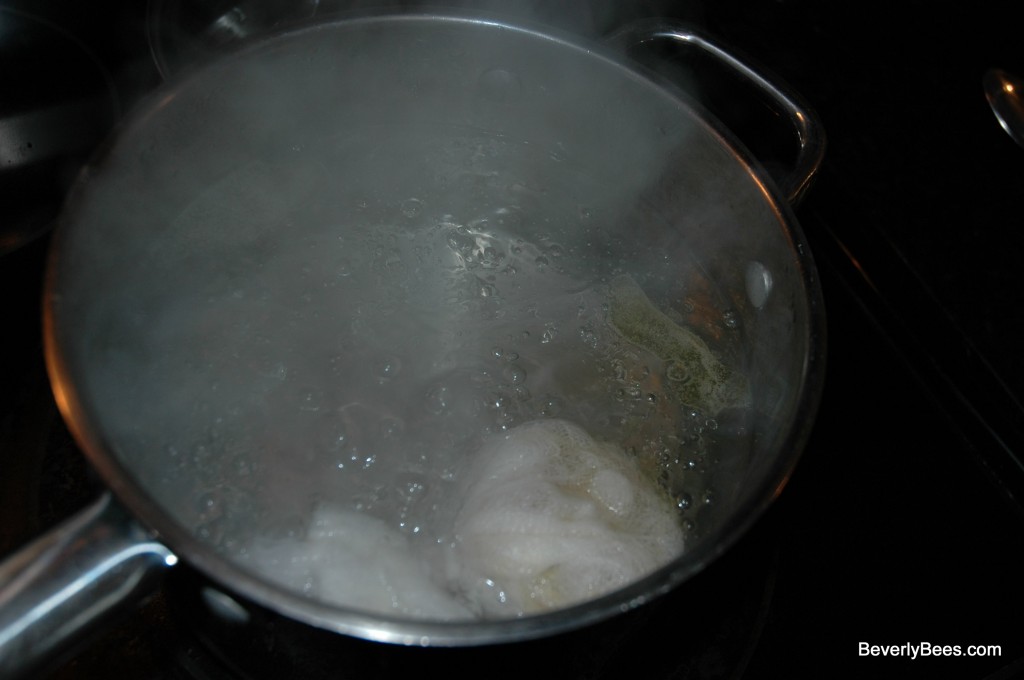
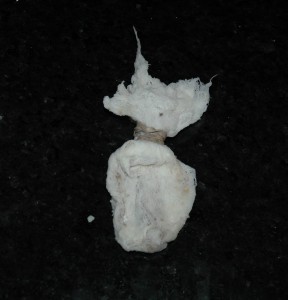
After 30 minutes, I removed the ball and squeezed out the water with tongs. This is what remained before I tossed it out.
The pot sat on the counter to cool for a while. This is what it looked like hot.
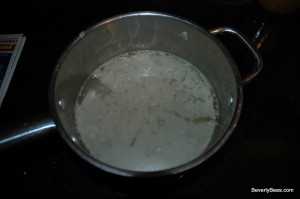
After cooling the wax hardened and looked like this.
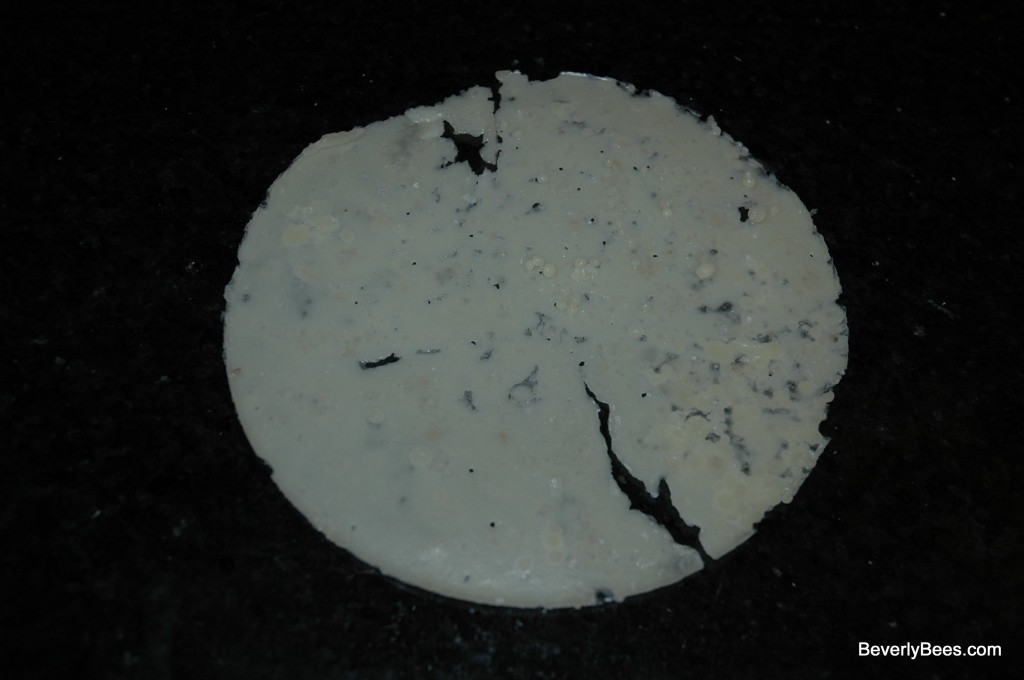
I removed it by pushing it down on one side. I ended up with a thin circle of wax about 8 inches in diameter. Now this wax will be ready to use for whatever beeswax project I decide to do.
I was surprised how simple the whole process was. Once I have large quantities of honey and wax it will get more complicated, but this project only took a few hours. It was perfect for a small amount of wax and was quite fun!
Other Posts You May Enjoy:
- A Hive With Two Queens
- First Inspection Of The Two Queen Hive System
- Inspecting The Two Queen Hive System
- Off With Her Head, Well Actually, Her Butt (Merging the Two Queen Hive System)
- My First Bee Swarm – Part 1 of 3
This post was shared on Wildcrafting Wednesday.
