
by Anita Deeley at BeverlyBees.com
An unassembled bee hive can be overwhelming to a beginner beekeeper, but don’t worry it’s not as complicated as it looks.

Beekeeping supply shops sell hive parts piecemeal as well as both assembled and unassembled bee hive kits. You can usually save a little bit of money by assembling the hive yourself. For someone handy it’s simple. The hardest part is assembling the frames. Frames with plastic foundation are the easiest to assemble. Plastic foundation is usually coated on the outside with beeswax and resists wax moth damage better. However, honeybees prefer building their comb on solid wax foundation so the choice is up to you. You can also purchase one piece plastic frames, fully drawn plastic foundation and several other types of foundations and frames. There are many ways to do things in the beekeeping world and you will have to find out what is right for you. Wooden frames with plastic embossed foundation coated in beeswax or 100% pure beeswax foundation with vertical wires added for stability (this is called wired wax foundation) are classic combinations.
Before you start assembly check to see that you have purchased all the parts you need to get started. For a detailed description of the parts that make up a standard Langstroth hive please read Parts of A Beehive – A Beginner Beekeeper’s Guide.
For a beginning 10 Frame Langstroth hive you should have a hammer and the following:
(click the links for more pictures of unassembled hive pieces)
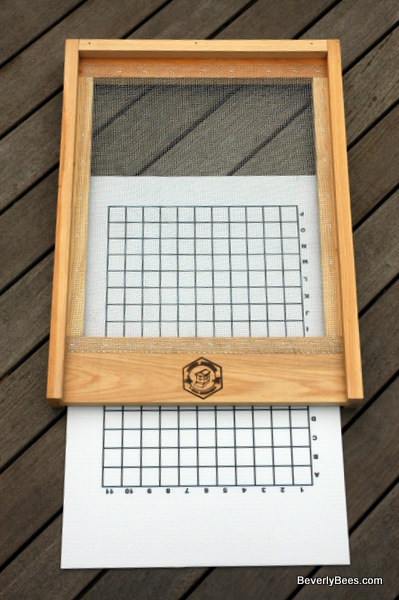
- Bottom Board with Entrance Reducer– The kit above includes a screened bottom board.
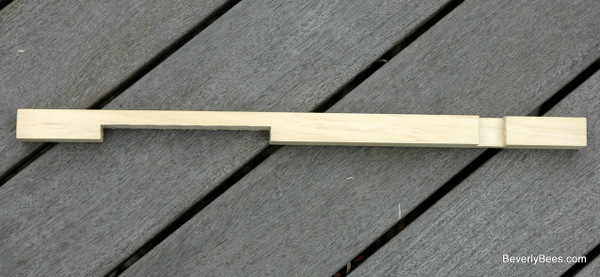
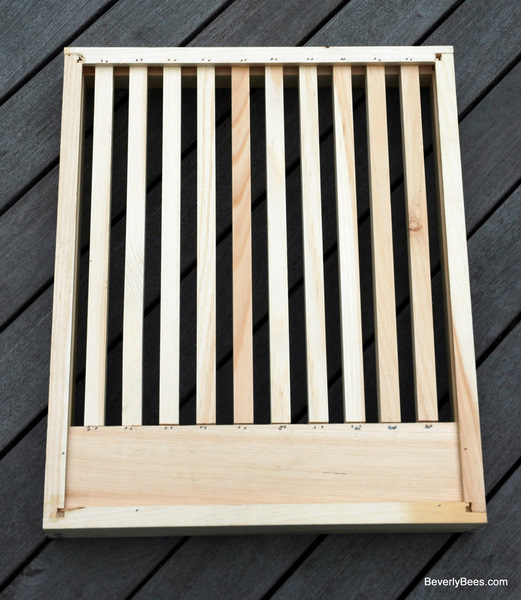
- Slatted Rack (optional)
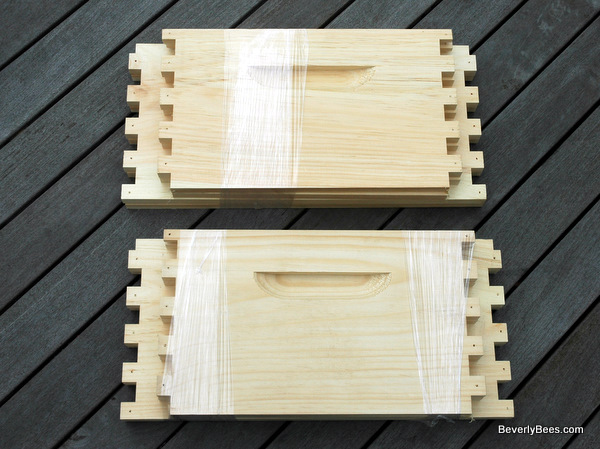
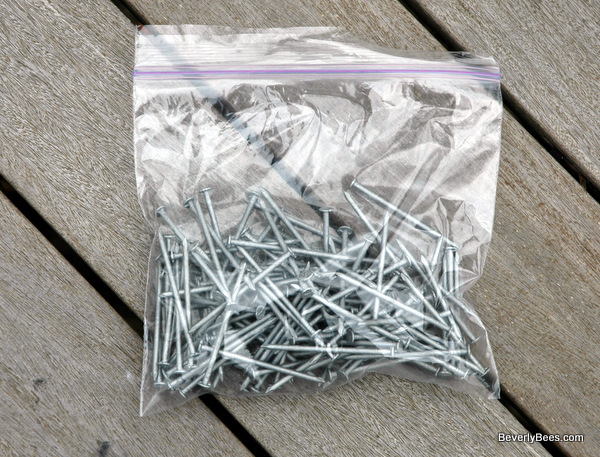
- Hive Boxes with 7D Nails– The pictured kit above has two deep supers, the minimum needed for the brood chambers.

These four pieces will make one deep hive box or super. - Frame Rests (optional) – Metal strips installed on the hive boxes which make frame movement easier. You need two per box.

You need two frame rests per super. - Frames with Frame Nails– You need 10 frames per super for a total of twenty frames across the brood chambers. The frame nails come in two different sizes, usually a 1 1/4 ” nail for the frame and a 5/8″ nail for the wedge cleat on the frame. You need both to assemble a wedge frame.

These pieces will make 10 frames when assembled. - Foundation – Twenty pieces of foundation, plastic or wax, to fit inside the frames. The kit above comes with wired wax foundation.

Wired Wax Foundation - For Wax Foundation Only– You will also need Wire for wax support, Eyelets, an Eyelet Punch and a Spur Embedder.

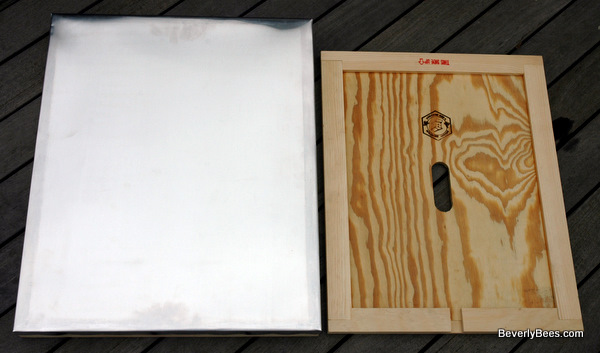
On the Top -Wire, Eyelet Punch, Spur Embedder On the Bottom – Frame Nails, Eyelets, Frame Nails - Inner and Outer Cover


If you were to lay all the pieces out end to end it would look something like this (for scale purposes my deck is 12 feet wide).

I don’t advise you trying this at home however because it takes a long time to clean up.
Copyright © 2011-2014. Anita Deeley, BeverlyBees.com. All rights reserved.
Other Posts You May Enjoy:
- Parts Of A Beehive – A Beginner Beekeeper’s Guide
- How To Set Up A Beehive Video – A Beginner Beekeeper’s Guide
- How To Paint A Beehive – A Beginner Beekeeper’s Guide
- How To Assemble A Hive Box or Super– A Beginner Beekeeper’s Guide
- How To Assemble A Frame – A Beginner Beekeeper’s Guide